Sunday, February 13, 2011

Inkscape Clone Patterns

Inkscape 0.48 Windows 7

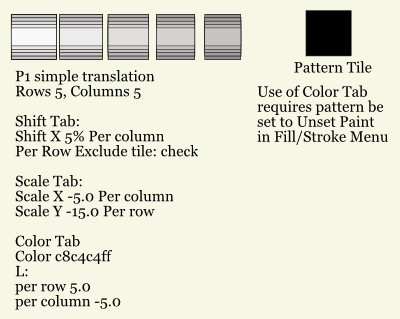
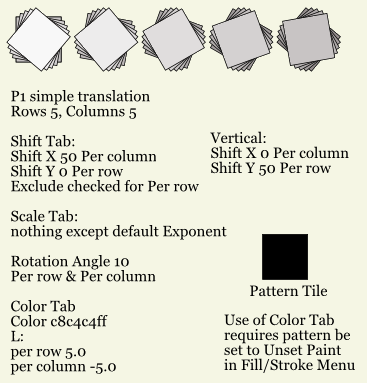
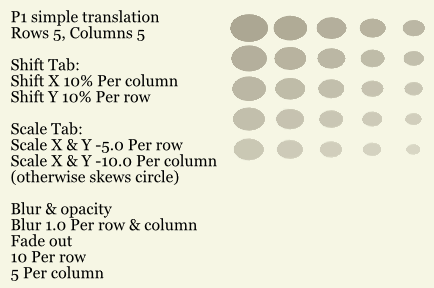
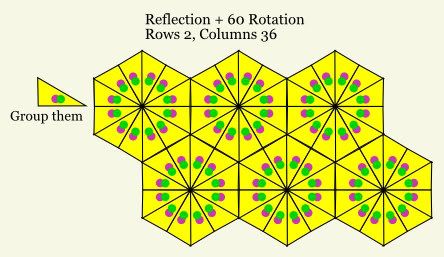
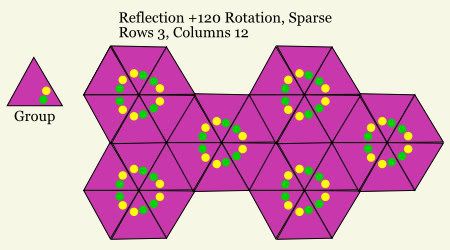
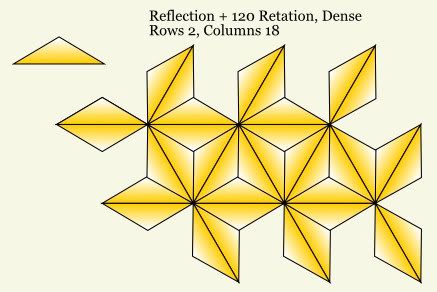
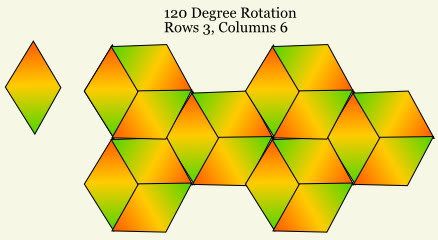
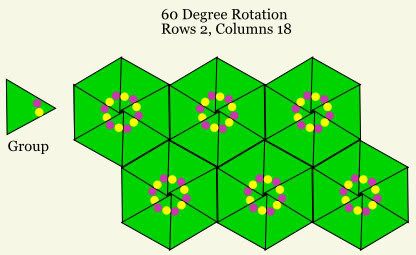
Some interesting Clone Patterns I made while playing with Tiled Clones.


A few Tiled Clones videos:

Clones and Spray Tool
Unset Paint.

Radial Tiled Clones
Flower petal, Ctrl/drag node straight up, Moves crosshair center of object.
I think his Shift Tab parameters are backwards. Dated June 2009. The crosshair thing is important to know.

About Inkscape's Tiled Clones 17 Symmetry patterns, Wiki might have some interesting links on the subject. I haven't checked them yet, but maybe some pattern ideas there.
See Wallpaper Group.

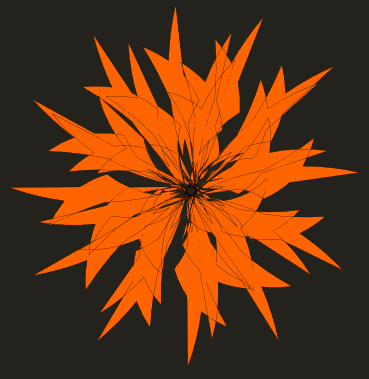
Inkscape Live Path Flower

Inkscape 0.48 Windows 7

Flower:


Good news: Happy accident
Bad news: I can't repeat it. I can get similar, but I like this one the best. Probably too many variables.

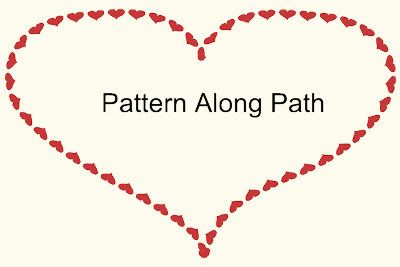
I was playing with a star copied onto a spiral within the Path Effect Editor under the Path Menu (Pattern Along Path) and comparing that to the Pattern Along Path under the Extensions Menu.

Friday, February 11, 2011

Google Fonts Won't Display in Firefox - Fixed

At Blogger Buzz it says there are additional fonts to use, but Firefox was not displaying them correctly at Google Fonts.

I fired up IE8 and, yes, the fonts display correctly.

I check NoScript and AdBlock and Firefox About:Config...
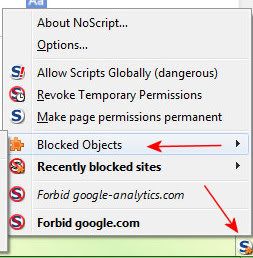
But wait...NoScript Icon has a little dot on it...
Blocked Object.


Aha! That's the problem.
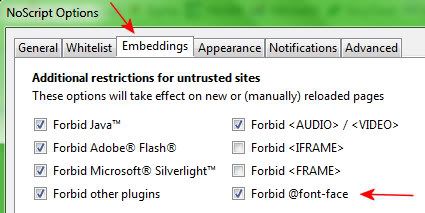
However, I could not figure out what setting to change so it would be fixed permanently.

Via this site, Thank you.

Here's the setting to uncheck:


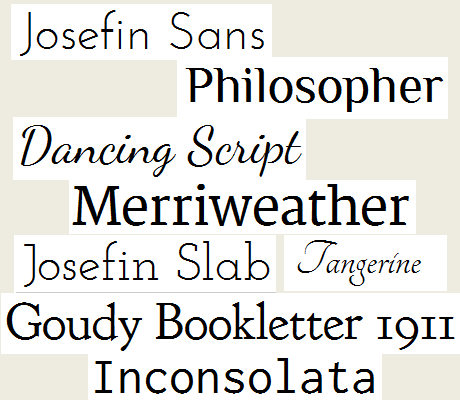
Now I can play a little with fonts.
I like:

I'll have to figure out how to use them inline in my blog posts, if that's possible.
Probably have to tweak my template, I suppose.

Inkscape Colorize Stroke Markers


Yes, the Stroke Style Markers can be colored—with Filters.
Stroke color just changes the line color, the Markers stay black.

Pencil or Bezier Pen work to draw the line.
Then Objects, Fill and Stroke, Stroke Style Tab to style the line and add the Markers.
Use the Node Tool to adjust direction of Markers and line.
Then add the Colorize Filter.
Because the Marker is black, it doesn't change color until you go into the Filter Editor.
Default Colorize settings will not change black color. That is the case with Paint Shop Pro Colorize as well, so maybe that's normal. But at first, I just thought I could not change the Marker color at all.
Not so.
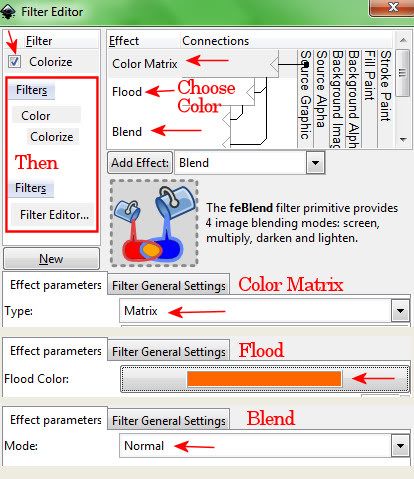
Filters, Filter Editor
For Colorize Filter,
Change the Color Matrix Component to Type: Matrix, instead of Saturation.
Or Blend can be changed from Multiply to Normal.
The Flood Component area is where you can choose the Color.
Tada! The Marker should now be the color you desire it to be. :)


UPDATE:
Can change the marker color under the Extensions Menu.
Extensions/Modify Path/Color Markers To Match Stroke.
I think that's eventually going to be fixed.
Ref1
Ref2
There's also additional info on creating your own custom markers.
END UPDATE

Something I hadn't realized is that in the Filter Editor, if the Filter has a Flood Effect component, that will change the color.
Like the Clouds Filter has a Flood in it, so that means you can change the cloud color from white to whatever you want.

There isn't much information out there on the Filter presets and how to tweak them. I'd like to see more details on the "Effect" part of the Filters Editor. What those Effect components do, what the connections do, as well as what the parameters at the bottom do. Not the minutiae technical math, but the general effect each has on the overall result of the filter.
Like, say you want to create a Filter. How do you decide what Effect to use, what connections to make, and what parameters to fiddle with? Who's the Inkscape Filter guru to go to for this kind of thing? :)

Something else under the Fill and Stroke area to play with are the Patterns.
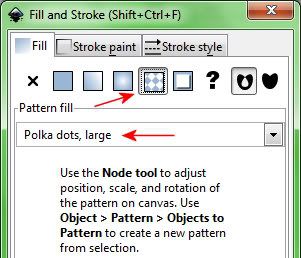


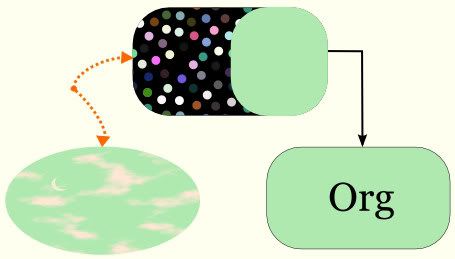
I liked Polka dots, large.
Change the color of those.
Extensions, Color, Randomize
And/or Extensions, Color, Custom
Then add Filters, Shadows and Glows, Glow.
Add a black rectangle behind the dots.
Try Filters, Shadows and Glows, In and Out
With a Black background they looks like balls, with a white background they look like suction cups.

Manual Fill-Stroke
All those stripe patterns are used for hatchings. Oh.
New in v0.48, Swatches, Auto Palette.
There's a lot in this section to study.

UPDATE 30Dec11 (See Comments)

So after I applied a Pattern from the Fill and Stroke area,
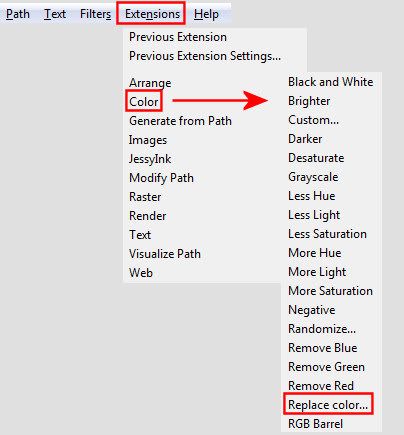
then I went into the Extensions Menu at the top of the screen to Color the pattern.


Online Manual References (v. 0.47/0.48)
Start Page
Anatomy of Inkscape (Shows Extensions on the Menu Bar)
Fill/Stroke Menu
Extensions Color
To me, Custom is a little strange or hard to understand. :)
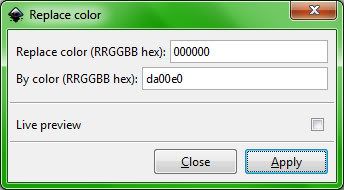
Try Replace color.
The dot pattern is black (RRGGBB = 000000) so
Replace color: 000000
By color: da00e0
And the black dots become pretty purple dots.

You can get the RRGGBB from within the Fill/Stroke area:
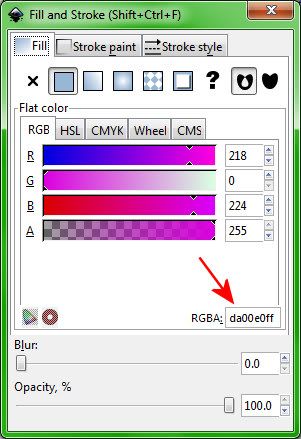

That might not be a completely accurate explanation of the hexadecimal colors as used here, but close enough to get the job done.

If you have further questions, you might find more timely help on the Inkscape Forums.

Inkscape Tiled Clones Those Manual Patterns

I'm working in Inkscape 0.48 Windows 7.

Is it just me, or were those Tiled Clones Manual Pattern examples hard to figure out?

The clue:
Manual Tiles Symmetries
“The pairs of numbers indicate the row and column numbers.”

(1,1) is the original object shape. Oh.
I don't know if I had that epiphany before when working with Tiled Clones, but I sure didn't remember it. :)

It is much easier to learn Tiled Clones by creating them, rather than reading about them, because you get the instant visual connect between what you do and the result. So just go fiddle with the parameters and see what happens. If things get really messed up, hit the Reset and start over.


NOTE: Triangles are difficult to pattern perfectly with Tiled Clones. Even if I get them aligned correctly, Tiled Clones still creates hairline gaps. I can tile simple triangle patterns in Paint Shop Pro with no gaps, using duplicate, flip, mirror, rotate.

How about some 3D Boxes. Yes, they can be cloned. Object to Path first.

Windows 7 File Association Problem Solved

In case this happens to someone else, and it usually does.

When I installed Inkscape, I did not use the installer. I just downloaded the zip and unzipped and ran the program.
I set File Association on *.svg the usual way no problem.
But then...
I decided to move Inkscape.
*.svg files were no longer associated with Inkscape and I could not associate the file the usual way.
Windows 7 just ignored it.
So
I used
ccleaner to scan for registry issues, yup Inkscape, ran the registry cleaner.
Problem solved.
I am now able to association *.svg files with Inkscape again.

Wednesday, February 09, 2011

Possibility - Music

It's been quite a while since I've found any good new music.
I like this song:
Possibility
by Sierra Noble
(b. 20 Feb 1990)
Canadian singer-songwriter (Winnipeg)

(Scrolling lyrics below the video.)
0:10 Woke up at midnight all alone
0:14 was it a dream that you had phoned?
0:18 were you even thinking of me?
0:21 is it even a possibility?
0:24 missing me,
0:26 is it even a possibility?

She's a fiddle player.
Sierra Noble Fiddles in Wolseley

Night - Poem


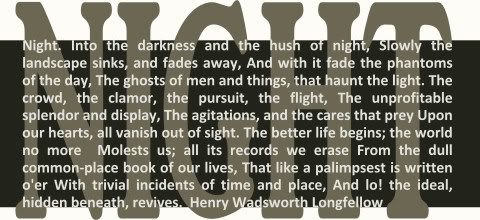
I was playing with Text Flow and Justify in Inkscape 0.48 and just happened to create this image.
I like it, although the text got a little too small when I made it fit my blog.
It looks better on a white or light background, rather than my current dark blog theme.

Download podcast and read text here:
Writers Almanac Public Radio
6 May 2008 Podcast
Garrison Keillor reads the poem about 3:33 into the podcast.

Archives

Inkscape Tiled Clones

I started playing with Tiled Clones in Inkscape 0.48.
Just walking thru the menu and options and creating samples.

What can be cloned?
Text? Yes. Must be converted to path first, otherwise the text won't rotate and get unexpected results.
Effects? That heart I created and then added a filter to can be cloned as is. That was unexpectedly easy. lol

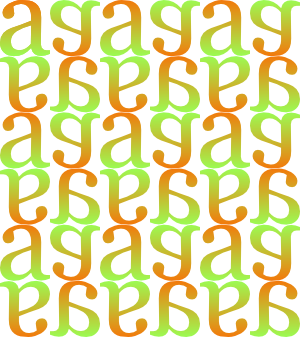
I thought this seamless tile was pretty:

Seamless, transparent background, free to snag if you want it.

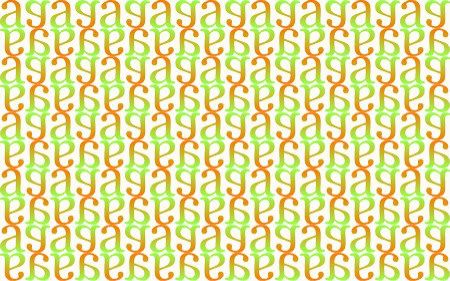
Here's what it looks like tiled.


Letter "a" with gradient, Convert to Path,
Tiled Clones
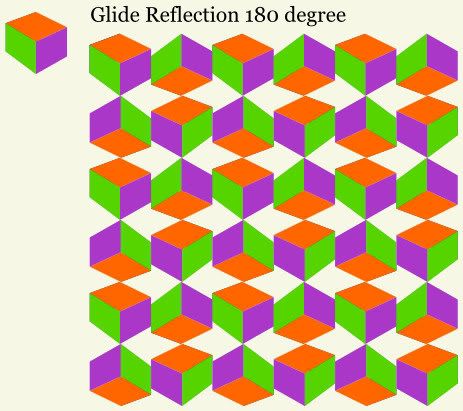
Glide Reflection 180

Manual:
Clones
Tiles
If you want to clone more than one object at a time, they have to grouped first.
There's a Clone section in the File, Inkscape Preferences area.

Tuesday, February 08, 2011

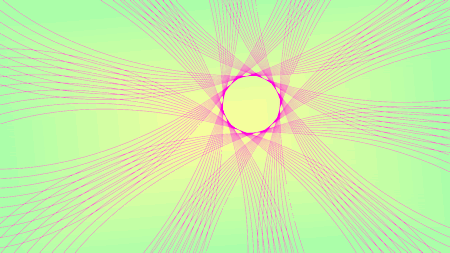
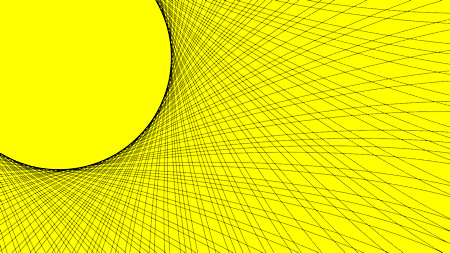
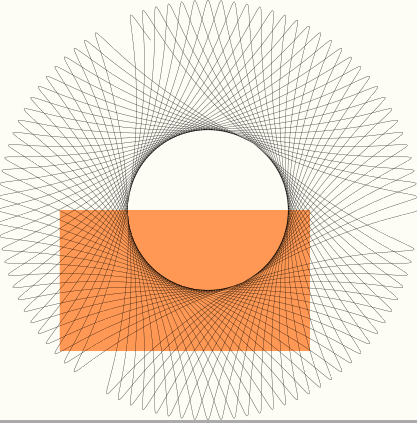
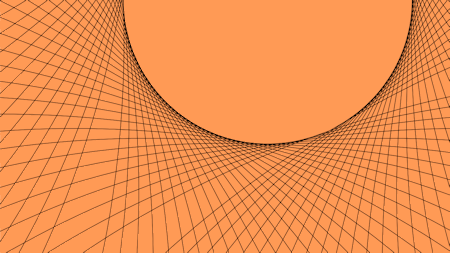
Inkscape Giro Spiro Wallpaper


Here's something I haven't seen anyone do in Inkscape.
Bonus: It's fun and easy.

Telephoto person that I am, I got into looking at the Inkscape spirographs zoomed in.
I tended to like the more complex and imperfect ones.
Decided to make wallpapers out them.
Now there's all kinds of things a person could do with this idea.
But I like the minimalistic versions the best.


Extensions, Render, Spirograph
I just kept playing with it until I got ones I liked.
The Stroke size is often too thick/large to see intricate details, so I usually have it turned down to 1 or decimals below that even.
I set up the File, Document Properties for my desktop size (1366x768) and turned on Page Border.
Added a colored rectangle in the background and then enlarged spirograph and moved it around to see what part I liked best for wallpaper. Move the rectangle out of the way if you don't want it as part of your export.


It takes a l-o-n-g time to File, Export Bitmap on these huge spirographs.
Could add a smaller duplicate spiro in the center hole.
Or could make that center hole scenery like stars, clouds or mountains.
Could add more background interest like gradients, light texturing.


Another idea is to layer simple spirographs.
See wiki
Ungroup and pull apart to see the individual spirographs.

Examples for inspiration:
forum

Info on spirographs:
Manual

Inkscape Filtered Hearts

I'm working in Inkscape 0.48 Windows 7.

So there are tons of preset filters and I put those towards the last on my list to explore in Inkscape. I played with those when they first came out and there were no presets on the menu but others shared their filter settings in *.svg files. I also plan to check out the cloning feature again. I haven't worked with that since way back in version 0.45? I think. So I'm curious about changes there.

Filters make Inkscape very sluggish. That's probably the biggest issue with them right now that I can see. How do people deal with that. Is there some way to merge the filters to the object to improve performance. That's probably the main question I have that I want to dig for.

The Filters can be turned off.
Manual
View, Display, No Filters

Filter Presets
1. Two categories of filters: normal objects vs bitmaps (Extensions, Raster?)
2. Help Text popup at the bottom
3. Can add your own filters to the menu (See also Release Notes 0.47)

I tried various filter effects on the Heart I just made.
Lots of nice edges effects and more.

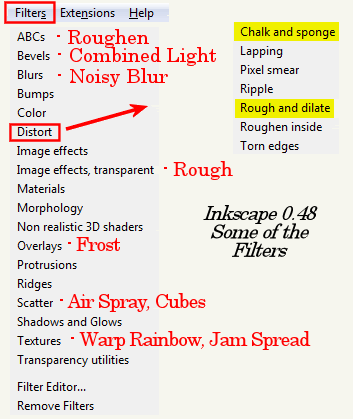
My favorite Effect on the heart is probably the
Texture
Jam Spread


I tried to add a drop shadow in Inkscape and I got a drop shadow but it also darken the whole image.
I went back and added a drop shadow FIRST, then the Jam Spread Texture and that worked. I think what happened is the Texture created transparent areas on the heart so that the drop shadow showed through?

Release Notes 0.47 says:
By default, if the selected object already has some filter applied, the chosen filter will be merged with the existing filter for combined effect. However you can also overlay several filters to an object while keeping them separated: simply press Ctrl+G after applying any filter and then apply another one; the filters will then display separately in the Filters Editor.

It gets a little confusing working in the Filter Editor when you have lots of filters applied to lots of objects. All filters applied to all objects are listed there. But I *think* Ctrl+G worked as described above.
What is Ctrl+G? Shortcuts are handy, but they don't teach.
Running mouse over Menus, I see Ctrl+G is Objects, Group command.
And how does one manually execute a "merge" command? What if I want to merge all the filters on an object to improve Inkscape performance, can I do that?

On the plus side, since the filter effects are dynamic not static, I can make changes to the object without undoing the filter effect.

Ctrl/G (group) an object to a filter and the filter effect won't change when you move the object.

Warped Rainbow is kinda pretty, also under Textures.


Bevels

Combined Lighting:


Distort
A good place to look for different ragged edges effects. Here are a few I liked on the heart.

Chalk and Sponge:


Rough and Dilate:


I did not have a Stroke color on this heart. And yes it will change the look of the applied effect.

Scatter

Cubes:


Overlays
Frost is pretty on the heart.


Menu Visual:

Sunday, February 06, 2011

Inkscape Hearts

I'm working in Inkscape 0.48 Windows 7.


This tut on Sketch and Hatch does a pretty good job of illustrating these effects under Live Path Effect Editor.

My Notes:
Makes the right half of heart with Bezier Pen in Spiro Mode.
Selects the two end nodes, align selected nodes vertically
Select all nodes, Set to Auto Smooth (Node Tool Commands Bar)
Path, Object to Path
Duplicate, Flip Horizontal
Used align and distribute, but that didn't work for me, so I fiddled with it until I got it to line up.

Path, Combine
Tut says the path is still open.
How would you know that? Zoom in on top and bottom points where the two halves meet and you will see two nodes at top and two nodes at bottom. Select top two nodes, Join (Node Tool Commands Bar), do the same for the bottom two.
The heart should be one shape now.

After heart is combined/joined into one shape,
Simplify Path, Duplicate heart
Path, Path Effects Editor apply Hatches
With Node Tool, tweak nodes to get pattern the way you want it.
Shift/click to change stroke color.


Does Sketch next, same basic process, only select Sketch instead of Hatches.

More ideas:
Could also duplicate heart, fill red, resize tiny, copy, then paste as pattern within the same Menu (Add Pattern Along Path, instead of Hatches or Sketch). Had to tweak the nodes a little bit.


Duplicate heart
Extensions, Modify Path, Add nodes and jitter, Fill with color


Is there an easier/better way to make a heart from scratch? Could you use a triangle? Convert to Path, add some nodes, tweak, etc.
Inkscape crashed when I tried to export as *.png. I did a Path, Combine and then tried export again and it worked. I don't know if that's always necessary.

Relevant Manual Links
Hatch/Sketch
Jitter

Inkscape Calligraphy

Inkscape 0.48 Windows 7


I just wore out my hand trying to create calligraphy with a mouse in Inkscape. Whew.
The above is a nice calligraphy font. ;)
Some day I'd like to buy a wacum tablet.

First of all, I wanted some kind of grid that would help me with proportion and angle.
There is free calligraphy guide paper that can be found on the Net when googled.
For example, here and here.

There is a grid in Inkscape (View, Grid).
Grid behavior is odd when zoomed.
The grid can be customized either globally (File, Inkscape Preferences, might require a restart) or locally (File, Document Properties, Grid Tab, New).
These settings will look like notebook paper:
Spacing X at 750, Spacing Y at 4 pixels (Grid units).

Inches Grid units as notebook paper would be: Spacing X at 8.5, Spacing Y at .3 (point 3).
(Regular notebook paper would have about 31-37 lines on a page if margin area were included.)
I then decreased Spacing X to add some vertical lines as well.

Inkscape Calligraphy Tut
(Online and also included with Inkscape download, see Help, Tutorials.)
Mentions slanted guides. Guides are created in Inkscape by dragging (horizontally, vertically, diagonally) off the rulers. Mouse hover over guide and read help text that pops up at bottom of screen for further instructions.

There is an Extension, Render, grid, which can be printed out.
Line Width at .1 (point 1), Horizontal at 750, Vertical at 20 looks like lined notebook paper.


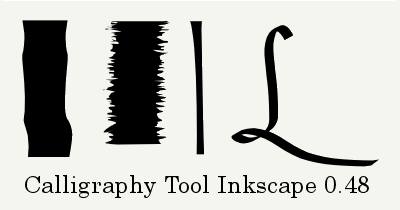
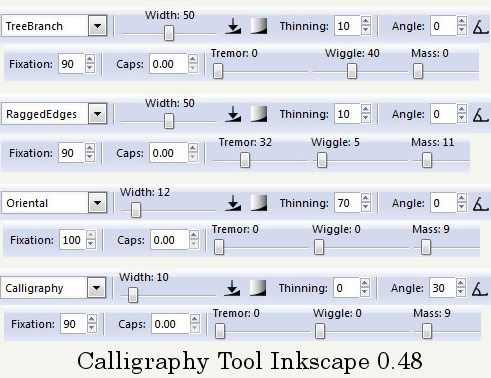
I created four calligraphy presets:
TreeBranch
RaggedEdges
Oriental
Calligraphy
Inkscape didn't retain the presets because when I loaded Inkscape later only one created preset was there. I did screenshots of my settings. Just a warning.


Release Notes that mention Calligraphy Tool:
040 (Thinning, Fixation)
045 (Caps, Wiggle)
046 (Line Engraving - has example image)
047 (Presets)
(Edit, Find "calligraphy" within Firefox.)


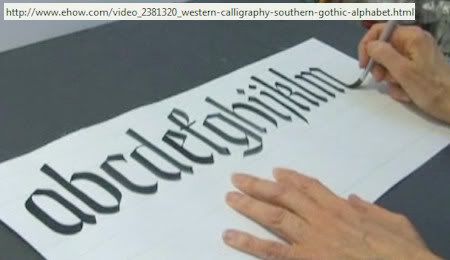
ehow
Handwritten calligraphy videos here.


Some Calligraphy lettering/fonts to google.
Uncial
Batarde
Carolingia(n)
Flourished Italian
Gothic

Inkscape Manual
0.47 Calligraphy Improvements
Another Manual

Inkscape And The Missing Triangle Mystery

I'm working in Inkscape 0.48 Windows 7.

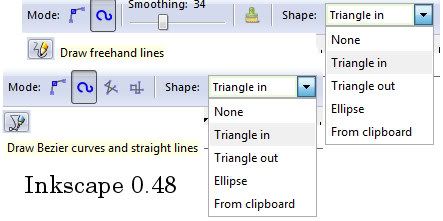
On the Tool Controls Bar of both Pencil and Bezier Pen tools there are Shapes to choose from.


These are like Pattern Along Path under the Extensions menu, which I've blogged about previously.

Manual
“Shape: Applies a shape to the path after it is drawn. This is equivalent to using the Pattern Along Path effect in Single, stretched mode.”

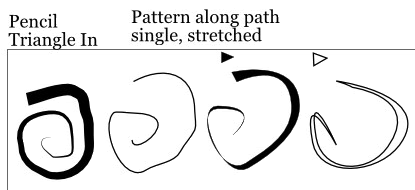
For example, if Triangle In is selected from the Pencil or Bezier Tool Controls Bar, that means the line created is stroked or filled with a pattern like a triangle.

So where's the triangle?

Watch this video and see if you can catch the missing triangle.

First, make sure Page Borders is turned on (File, Document Properties, Check the Show Page Border).
Then click on Pencil or Bezier Tools and choose Shape Triangle In from the Tool Controls Bar.
Draw a path or line near the top left page border.
Do not move it.
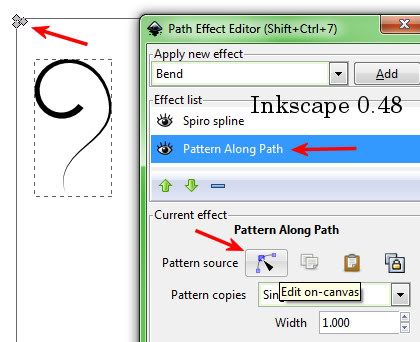
Go into the Editor (Path, Path Effects Editor, click on Pattern Along Path, click on Edit on Canvas Tool) and that little triangle (pattern) will show up at the top left hand corner of the Page Border. You can tweak that triangle (drag the nodes with the Nodes Tool and the path will also change.


The Path Effects are..."Live."

Manual Link

Ta da! The missing triangle mystery is solved.
Now how is a person supposed to know that?
You must become a member of the Secret Inkscape Society. After a rigorous initiation, you receive the special glasses. Only then will the hidden symbols in the Inkscape World be revealed. lol

The triangle should display when I create the path or have an option for turning display on/off.
And it should display near the path.
If I create a path or line at the bottom of the page border and MOVE it to the top, THEN go into the Editor, the triangle is not at the top left of page border; it's way up there on the screen. The triangle must initially get placed at top left of screen, but then if you move the line/path the triangle moves too.

Can I duplicate this effect by drawing a triangle, drawing a path, and using Extensions, Pattern along path.
Yup.


Ugly example, but does the job.
The trick is, to add a lot of nodes to the triangle, and make sure the triangle is the top most object.
Refer to my previous blog post for more details.

Thursday, February 03, 2011

Inkscape 3D Polyhedron

Inkscape 0.48 Windows 7.

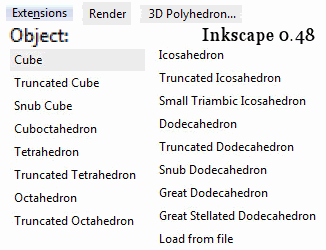
Extensions, Render, 3D Polyhedron
New in v0.47
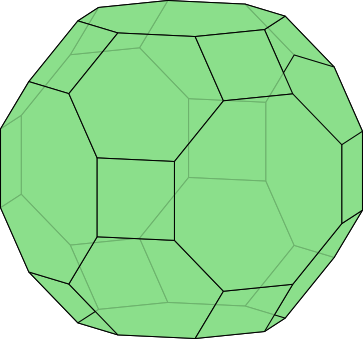
“The new Render > 3D Polyhedron extension draws 2D projections of 3D polyhedrons and other 3D shapes. You can choose one of a number of predefined shapes (cube, octahedron, truncated dodecahedron and others) or load a shape definition from an OBJ file. The shape can be rotated around any of the three axes by arbitrary amount; you can also define various style options such as color of the faces and stroke width, and enable shading with adjustable light source position.”

It's buggy and crashes if you fiddle with the settings a lot.
The settings get reset too, so it was hard to go back to where I was.
I did find out that Inkscape spit out backup svg's every time it crashed, thank you. ;)

There are 17 Objects you can render.


Each Object uses a "Filename" or *.obj file and there is an option to "load from file."
I can view an *.obj file in WordPad. Just a simple text file with parameters.
They are stored here:
Inkscape\share\extensions\Poly3DObjects\*.obj
AND there are extra objects in here. Copy and paste the filename in the Menu popup to render them.

Here's an extra:

great_rhombicuboct.obj


x 0, y 30, x 10
Shading off
Opacity 80%
Draw back sides
Stroke 1
RGB green - R 135, G 222, B 135

The next two were on the menu list.

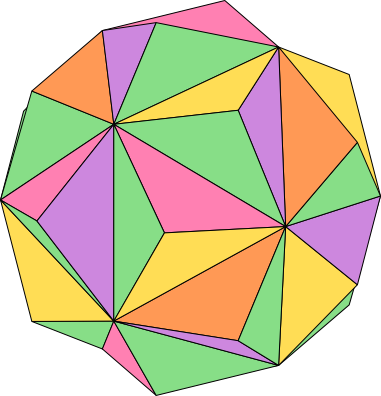
Small Triambic Icosahedron:


x 0, y 30, x 10
Shading off
Back sides off
Stroke wide 1
Scale 200
RGB green, R 135, G 222, B 135
I made colored rectangles for swatches.
Selected sides with Node Tool and colored with dropper.

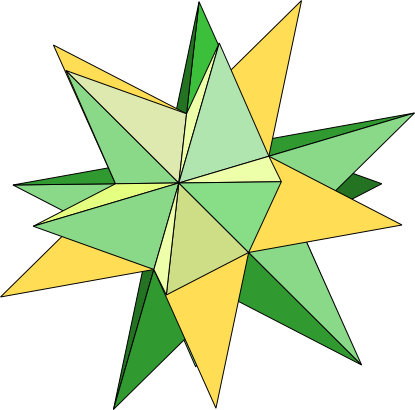
Great stellated dodecahedron:


x 30, y 30
Shading off
Back sides off
Stroke wide 1
Scale 100
Select sides with Node Tool and color.

I didn't like the Shading. The colors were way off and way too dark.
Manual