
I discovered that Extrude is totally different than it used to be.
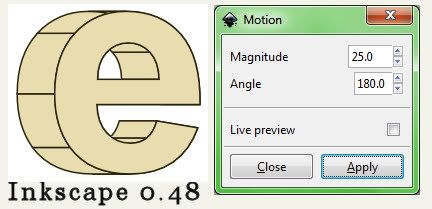
The old Extrude effect has been renamed Motion (Release 0.47).
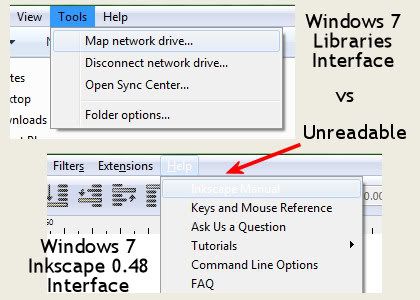
Extensions Menu:
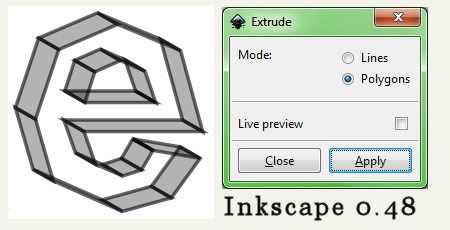
Extrude:
Motion:
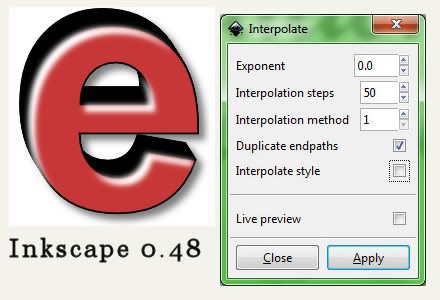
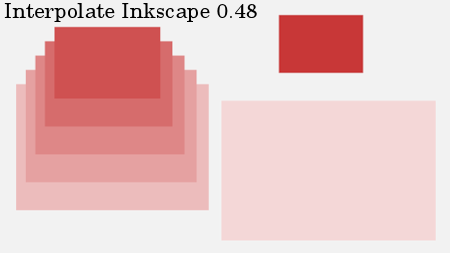
Interpolate:
The video I worked thru was for Inkscape v 0.45.
3D Text Using Interpolation
Relevant Manual Link for v0.48.
My Notes on what worked in v0.48:
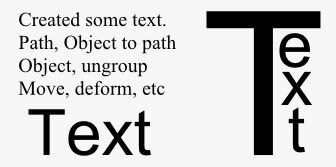
Make some text with the Text Tool.
Switch to Selector Tool first, if you want to change colors (see note below).
Path/Object to Path, Object/Ungroup, Path/Combine,
Edit/Duplicate, Shift top layer slightly with Selector Tool,
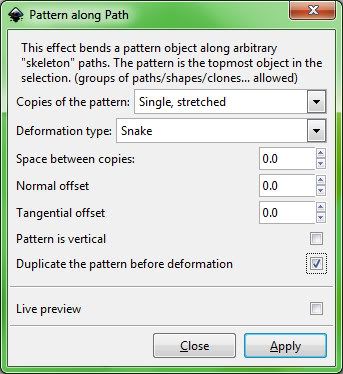
Extensions/Generate From Pattern/Interpolate
OR
Extrude
OR
Motion (Can skip Combine & Duplicate.)
Same process.
It should look like some 3D text at this point.
(I think Union also worked instead of Combine.)
It didn't make any sense to me to ungroup and then combine, but the effect will not work without it. The combo makes one complete path, whatever that means.
Use Edit/Undo History to see if each step is executed.
For example, the Video used Break Apart instead of Ungroup, but Undo History showed the command was NOT executed.
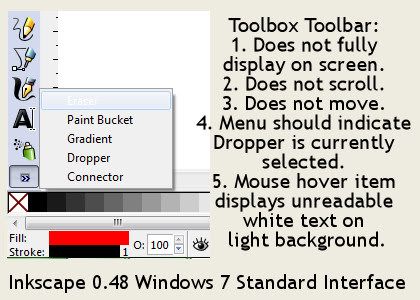
I sure wish Inkscape would give a helpful prompt when it cannot execute a command.
Interpolate made my NEW laptop sluggish just doing a little text. I hate to see what it would be like if I was working on a bigger project. Would have to simplify/combine the interpolation result somehow, I suppose. Inkscape gets sluggish when using Filters also.
Tried Path, Path Editor Effects, Interpolate Sub-paths. It worked, but I got a really weird looking stacked letter "e" when applied on "interpolate" text.
A glitch on Object to Path step:
Color text in Selector Tool mode NOT Text Tool mode.
In other words:
With Text Tool create text, switch to Select Tool, THEN change text color, Object to Path, OKAY.
With Text Tool create text and change color first and then switch to Select Tool, Object to Path, text turns black.
Next on the video is add a white highlight to the interpolated text.
Go back to the text used to interpolate.
It should be black fill color with no stroke color.
Duplicate twice.
Color one white color.
Shift over, down slightly.
Select both.
Path, Difference.
Color white again.
Move on top of Interpolated text.
NOTE: I moved it THEN colored it white. Easier to see.
Object, Fill and Stroke, Blur 2 and Opacity 75 on the white highlight.
Mine was Blur .5, Opacity 100.
There might be a Filter that does something similar to a highlight, I didn't look. There are tons of Filters.
Next, add a Drop shadow.
I used Filters, Shadows and Glows, Drop Shadow, default settings.
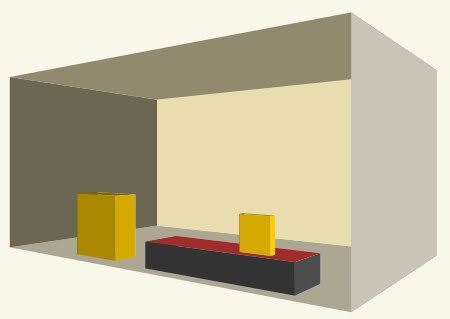
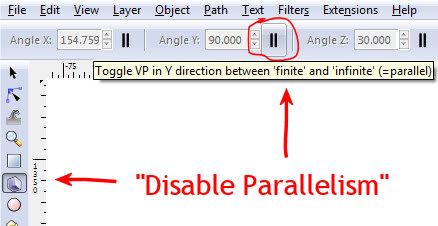
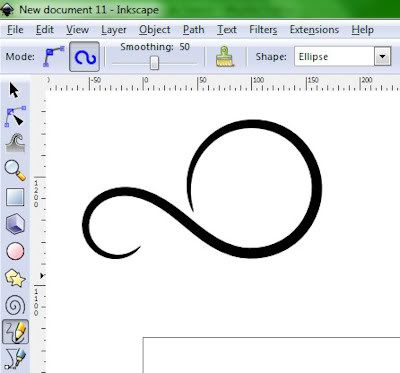
Just playing some more with Motion:

UPDATE:
The Interpolate Tutorial (Help, Tutorials, Inkscape: Interpolate) mentions none of these extra steps (Ungroup, Combine). And perhaps they are not necessary for the specific application(s) used in the tutorial.
The tutorial talks about the first node being important and also the order that you select the objects (exponent parameter).
I find that sometimes rotating the Object so first node is in a different position will make Interpolate work.
Another time, Object, Move To Top worked.
Tut says:
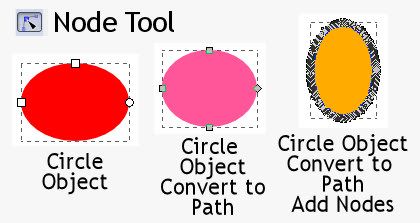
“To find the starting node of a path, select the path, then choose the Node Tool so that the nodes appear and press TAB. The first node that is selected is the starting node of that path.”
My observations tells me one difference in the method parameter is *sometimes* the direction of the interpolation. (Make the objects different colors.)
The tutorial also demonstrates the Style parameter, which I did not talk about here and shows how that can be used to create interesting gradient effects.
Reminds me of the Feedback Effect in Paint Shop Pro.


