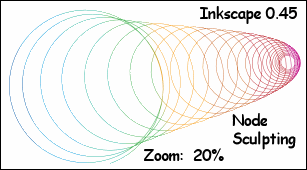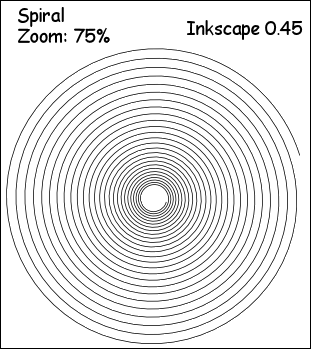
How I did it:
Create Spiral

Spiral is selected, then
Path, Object to Path
Edit, Select/All
Alt/Drag 1st Center Node Down.
The whole thing should stretch out like a spring, if all the above steps were done correctly.
The spiral is vertical at this point, horizontal later.
I tried making and applying a gradient to the spiral, but the colors ran vertically and I wanted them horizontal.
So, I found an image that had color gradients the way I wanted them.
File, Import that image in Inkscape.
Select it.
Objects, Pattern, Objects to Pattern
Pattern will show up in the Fill/Stroke area and you can apply it to the spiral there.
(Note: Vertical to Horizontal gradients - can use Gradient Tool.)
THEN
I wondered how the spiral would look if it was laying on its side rather than up and down.
I could have gone back thru all the above steps and dragged it sideways instead of down.
But I skewed it instead.
Objects, Transform, Skew Tab Horizontal and Vertical at 50 deg, applied twice.
Can resize, stretch, add drop shadow, try a different stroke.
But in the end, I liked the one above the best.
References:
Wiki Node Sculpting
Gallery of effect:
web page
png

No comments:
Post a Comment