I've been trying different methods for making bokeh in Paint Shop Pro 9 (PSP9).
Bokeh generally refers to blurred backgrounds in photography.
But what I was trying to create were those soft light circles that I see are so popular on
Flickr tagged bokeh.I wanted something fairly easy and fast.
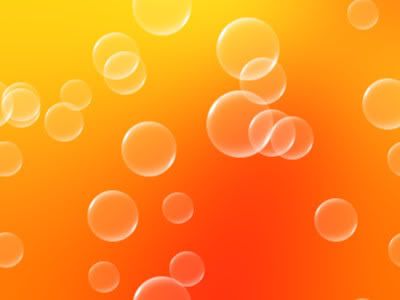
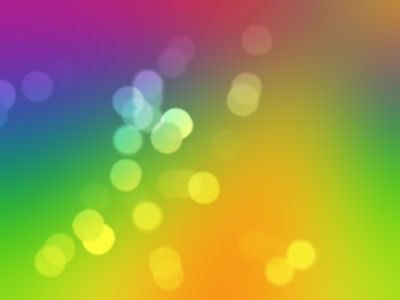
Examples of some of my attempts:


 HowTo:
1. For a nice background, I used a radial style gradient and change the angle, repeat, center points.
Then gaussian blur at 30-50.
2. For the soft light circles layer I use a round brush preset called "confetti" and tweaked the settings and variance (F11). Step and Position Jitter settings gives random placement of the circles. Oscillating Fade Opacity and Color Blend Jitter randomly varies the color/transparency.
Layer Blend Mode was set to Overlay. The brush colors were then White FG, and a dark gray BG.
This gave me some nice circles but they looked too perfectly round.
So I did two layers of circles.
Layer One I lowered the hardness of the brush setting above and/or I used Blur Average Filter set to Aperture 3. That blur seemed to looked better than gaussian blur or the other blurs offered in PSP9. Motion blur could maybe useful too.
Layer Two, now this one was just a pure fluke surprise I discovered by trying different things. I used the Warp Brush, Cloud preset and lowered the Strength and Noise, lightly touched over the circles and that gave those imperfect circles I was looking for.
3. Try a different brush stamp like a heart and use the same brush settings and variance.
Image Notes:Bokeh1
Background was a rainbow gradient (pj-5-crayonbow) radial style Angel 73, Repeat 2, Center Point Horizontal 77, Vertical 17. You don't have to manually set all those, though. Just drag around that circle/stick doohicky in the preview window. I don't know what it's called. Then Gaussian blur 50.
Bokeh2
Another radial style gradient add gaussian blur.
I created the gradient based on colors from a colourlovers article on
wine. (I love that place!)
Bokeh3
Passionata radial gradient add gaussian blur.
LINKS:Create bokeh with cameraGradient Link (Set 4)
Warp Brush Cloud Preset
