
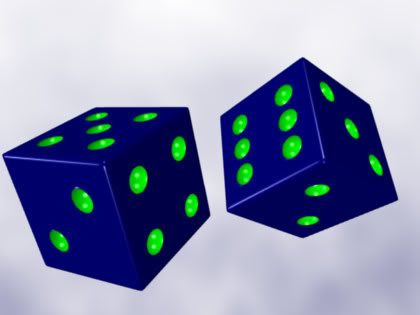
An animated Rubik's cube would be fun to make someday.
NOTES:
Again, the MyBlender.blend file mentioned in the tut is from Unit #3.
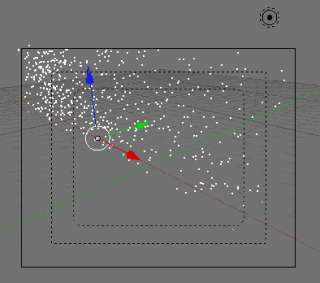
I liked how the spheres/dots were moved to a different layer so they were out of the way.
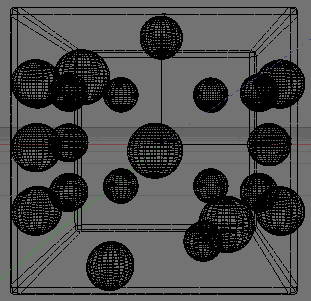
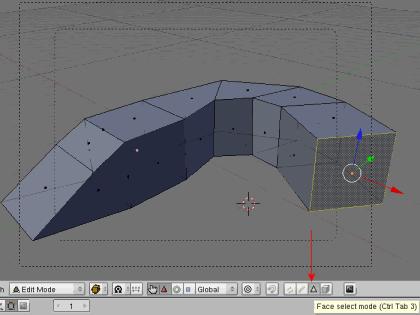
Here's the front perspective view (wireframe) once all the spheres are created and in position. It shows how cluttered the view can get when working with a lot of objects.
I liked the reminders to use different views to make sure the objects are in correct position. That is something to get used to when working in 3D.
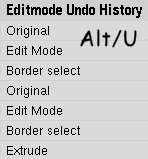
I had to attempt the Join command (Ctrl/J) 3 or 4 times before I got it to work. "Join" shows up in the Undo History (Alt/U) when it actually works. Plus another easy way to tell if join was successful is when you select the object, all the pieces (dots) should be selected with one click.
The other odd behavior was with the Difference command (W). It is opposite of what the tutorial says. Select the cube FIRST, then select the Spheres.
I get lost on what Mode I'm supposed to be in - Object or Edit (Tab toggle), and if I'm supposed to be in Wireframe or Solid (Z key toggle). It's not always clear and it does make a difference.
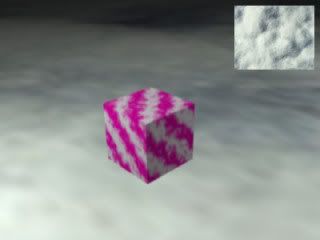
I noticed jpg within Blender is higher/poorer compression (more artifacts) than optimization 20 within Paint Shop Pro 9.
So I saved the render as png within Blender and then saved as jpg within Paint Shop Pro (or whatever software to get a better quality jpg if desired).
png on the net is usually overkill.
jpg w optimization at 10-20 is usually all I need, if I don't want gif.
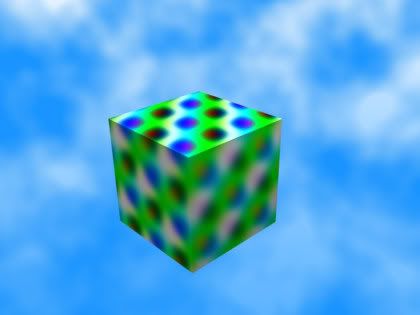
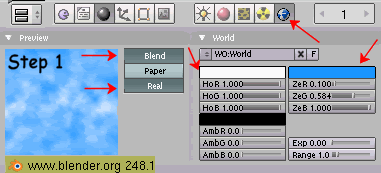
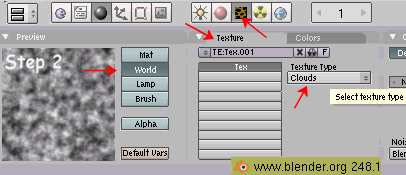
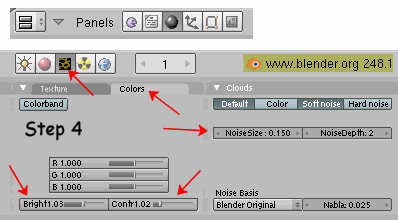
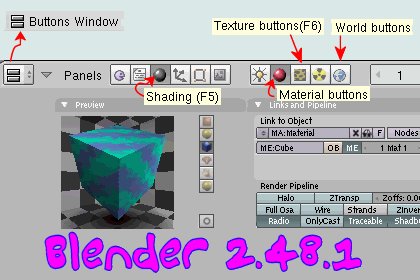
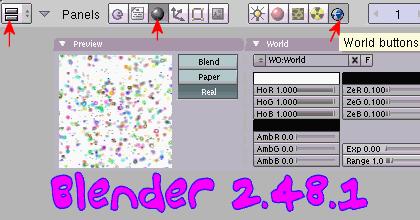
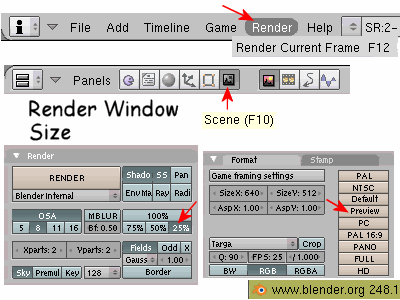
Unit 6 is where the world background info is. I already had figured that out earlier because I wanted a nicer background for my renders than that default dark blue.
Also talks about Subsurf.
Then discusses Booleans which is combining objects in different ways (difference, intersect, union) kinda similar to Inkscape I think.
I'm finished with Unit #6, on to Unit #7.
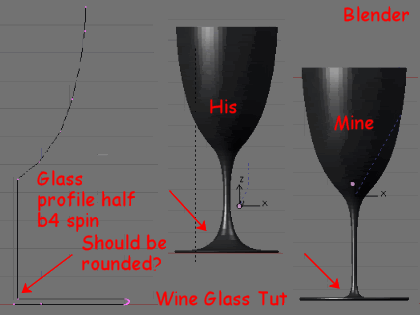
 Worked thru Unit 4 - Coloring, Materials, Camera, Animation.
 Just finished Unit 5 videos.
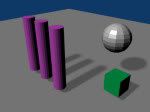 He always activated Add, Lamp in Top View so the lamp pointed down on the scene.
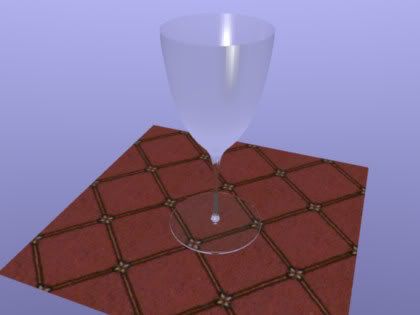


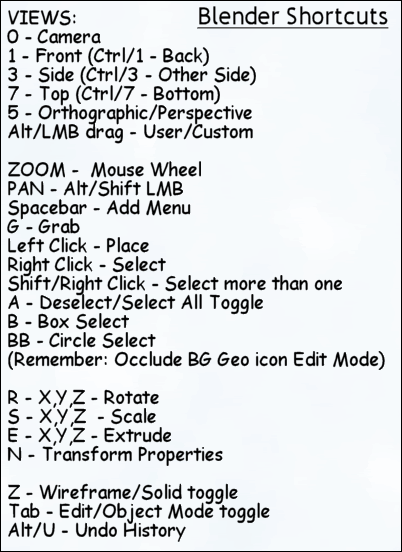
 I finally found out about the Undo History (Alt/U). Yay! I would teach newbs that tip right away. This helps me tremendously. I don't like Ctrl/Z undo in Blender because sometimes it works sometimes it doesn't and it's easy to lose my place in the process. The Undo History teaches me what is logged as "undoable" and what is not. (Colors? No Views? No) And also tells me where I'm at in the Undo history.
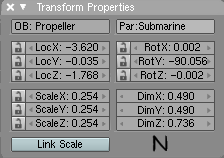 I liked using the Transform Properties window (N) to play with rotate and scale of objects because it tells you exactly where you are at and which coordinate you are manipulating. Good teaching tool. I get lost just using R or S - X,Y, Z shortcut keys. Transform Properties window is accessed with the N key. N for Notation, evidently.


 I wasn't going to blog about this book because at first, I didn't like it all that much. The first part was pretty heavy into the protagonist's book obsession and I didn't want to climb in there with her. It did get better, however, and there were a few things I jotted down from the book.


 Ms. KAUFMAN: Oh, we like writing about sort of quirky misfits.